A guide on mood boards for user interface designers and how to make your own
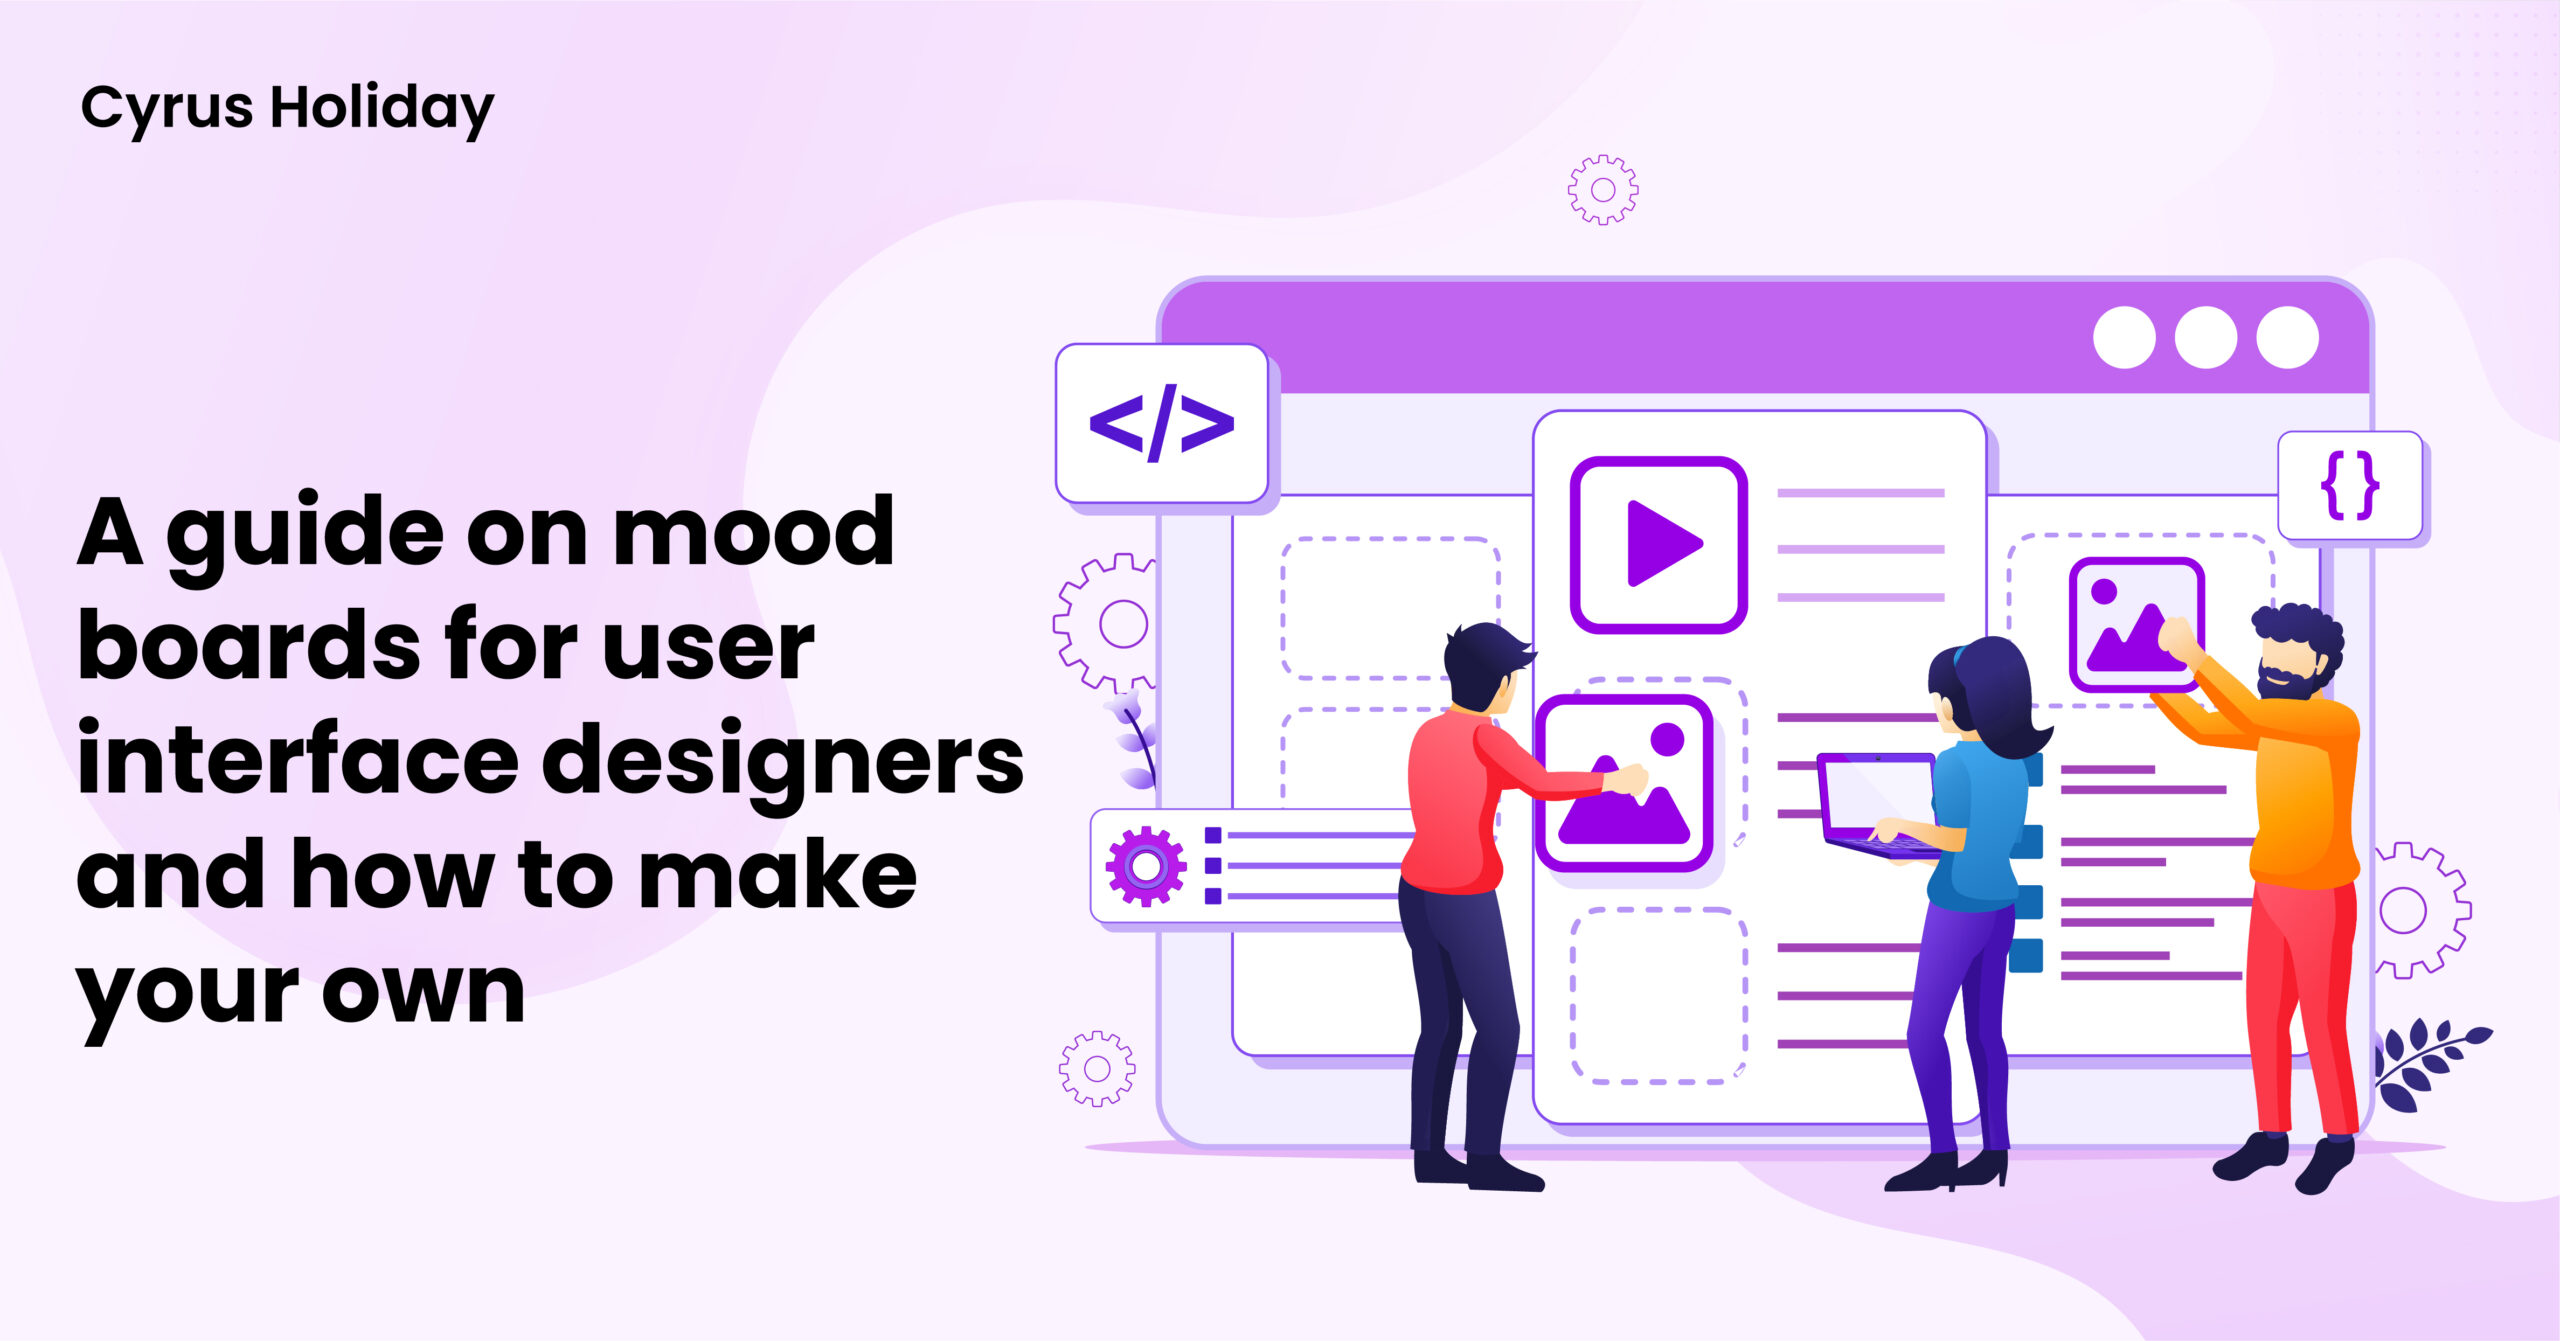
Table of Contents
You’ve probably heard of mood boards if you’re a designer or work in the creative industry. A mood board is a visual tool used to convey the overall feeling or mood a design should evoke and is made up of a collection of images, colors, patterns, textures, and typography. It is an essential part of the design process, helping designers and clients communicate and align on a design direction and to keep focused on the overall feeling or emotion a design should convey.
In this blog post, I as a freelance ui/ux designer will discuss mood boards, the Difference between physical and digital mood boards, the benefits of using mood boards, and how to create a mood board in easy steps. By the end of this guide, you’ll better understand how to design effective mood boards that help you communicate your design ideas and concepts more effectively.
- What Is a Moodboard?
A mood board is a visual representation of a design concept used to convey the overall feeling or mood a design should evoke. It is a collection of images, colors, textures, and typography that helps designers and clients communicate and align on a design direction. Mood boards can be used for any design project, from branding and logo design to web design and interior design. They are an essential part of the design process, and help designers stay focused on the overall feeling or emotion a design should convey.
Mood boards are particularly helpful when working on a new project. They help establish a common language between designers and clients and align on a project’s direction and style. By gathering inspiration and reference materials, designers can create a visual representation of their ideas and help clients understand the overall vision for a project.
- Physical vs Digital Mood boards: What's the Difference?
Physical mood boards are a great way to get inspired by cutting out images, colors, textures, and typography from magazines, books, and other printed materials and pasting them onto a board. This hands-on process can be quite meditative, allowing you to dive into your creative side. Additionally, physical mood boards are tactile and can be moved around and rearranged, allowing you to see how different elements interact more tangibly.
On the other hand, digital mood boards offer a more flexible approach to the creative process. With software like Photoshop and Illustrator or online tools like Canva and Pinterest, you can easily create a digital mood board that can be easily edited and shared online. This can be particularly helpful if you’re working with a team or clients in different parts of the world, as it allows you to collaborate seamlessly.
When deciding between a physical or digital mood board, it’s important to consider the project’s scope, timeline, and budget. Physical mood boards can be time-consuming to create. Still, they can also be a great tool for refining your ideas and getting into the creative flow. Digital mood boards, on the other hand, can be created quickly and shared easily with clients and collaborators. Ultimately, the choice between the two will depend on your personal preferences and the specific needs of your project.
- Why Use a Mood Board?
- Establish a Visual Direction- A mood board helps establish the visual direction of a project. It provides a clear visual reference for the design team to work towards, ensuring everyone is on the same page.
- Inspiration and Ideas- Mood boards can be a source of inspiration and ideas for the design team. By collecting images and colors that evoke the desired mood and atmosphere, the team can explore new design directions and create a unique visual language for the project.
- Client Communication- A mood board can be useful for communicating with clients. Presenting a visual representation of the project can help clients understand the intended style and aesthetic and ensure that everyone is aligned on the project vision.
Looking for freelance UX/UI designer?
- Benefits of Using Mood Boards
Mood boards offer several benefits to designers, clients, and stakeholders involved in the design process. As a experienced ui/ux services provider I have listed out the benefits that I gained from mood boards and here are few of them:
4.1 Communicate design ideas and concepts more effectively.
Mood boards are a visual tool that helps designers communicate their ideas and concepts more effectively. By visualizing a design concept, designers can help clients better understand their vision and align on a design direction.
4.2 Align on a design direction and overall feeling or mood.
Mood boards help designers and clients align on the direction and style of a project. By creating a visual representation of a design concept, designers and clients can better understand the overall vision for a project and ensure that everyone is on the same page.
4.3 Inspire and spark creativity.
Mood boards are a great way to spark creativity and inspire new ideas. By gathering inspiration and reference materials, designers can explore different styles, color palettes, and typography and create a visual representation of their ideas.
4.4 Save time and money by avoiding design revisions and miscommunication.
Mood boards can help save time and money by avoiding design revisions and miscommunication. By visualizing a design concept, designers and clients can identify potential issues before the design process begins and ensure everyone is on the same page.
4.5 Provide a visual reference throughout the design process.
Mood boards provide a visual reference throughout the design process. By keeping the mood board visible and referring to it often, designers can ensure that they stay focused on the overall feeling or emotion a design should convey.
- How to Make a Mood Board in Ten Easy Steps
Creating a mood board may seem daunting initially, but it’s a straightforward process. As a freelance ui/ux service provider here I have listed out the 10 easy steps to create a mood board:
5.1 Define the design problem and goals
Before you start creating a mood board, it’s important to take the time to define the design problem or challenge you are trying to solve. This step will help you focus on what you need to achieve and your project goals. Once you understand the design problem and have set clear goals, you can start working on your mood board. Your mood board should be aligned with the project’s objectives and help you stay focused throughout the design process. Additionally, it’s important to remember that a mood board is not a final product but a tool to help you explore and refine your ideas. So take your time and experiment with different concepts and elements until you find the perfect fit for your project.
5.2 Gather inspiration and reference materials.
The possibilities are endless when gathering inspiration and reference materials for your project. You may start by browsing magazines, books, websites, and social media platforms to see what catches your eye. Look for images that speak to you and colors that evoke the emotions you want to convey. Pay attention to patterns and textures that add depth and interest to your design. Typography is also an important aspect to keep in mind. Consider different fonts and styles that can enhance the message you want to communicate. By exploring a variety of sources, you can broaden your horizons and find new ideas that will help you achieve your project’s goals and objectives.
5.3 Please choose a color palette.
When choosing a color palette for your project, it’s important to think about the message you want to convey through your design. Are you trying to create calm and tranquility, or do you want to inspire excitement and energy? Depending on your goals and objectives, choose a warm color scheme with shades of red and orange or a cool color scheme with blues and greens. Consider incorporating complementary colors to create contrast and visual interest. Remember, the color palette you choose can greatly impact your project’s overall look and feel, so take the time to experiment and find the perfect combination of colors that will help you achieve your desired effects.
5.4 Select images, textures, and typography.
When selecting images, textures, and typography for a project, it is important to consider how they relate to the project’s goals and objectives. To effectively communicate the desired mood or feeling, it is essential to choose images that look great and represent the project’s intended message. Similarly, the selected typography should look stylish and reflect the project’s style and tone. This is why it is important to carefully consider each element and how it contributes to the project’s overall message. Doing so ensures that your project is visually appealing and effectively communicates its intended message to the audience.
5.5 Arrange and group elements.
One approach to improve the organization of your work is to group and arrange elements in a way that makes sense to you. By clustering similar items together and experimenting with different layouts, you can explore various ways to structure your work visually. Additionally, consider incorporating headings or subheadings to categorize your content further. This can help guide the reader and create a more cohesive and comprehensive work.
Grow your business with me.
5.6 Experiment with different layouts.
When it comes to designing, there are no set rules. You can experiment with different layouts that suit your style and design concept. The key is to try different arrangements and groupings until you find one that effectively communicates your ideas. You can also take inspiration from other designers, analyze their work and see if you can incorporate some of their ideas into your own. Don’t be afraid to think outside the box and push your limits. Remember, the possibilities are endless, and the more you experiment, the more you’ll learn and grow as a designer.
5.7 Refine the composition
To refine the composition, it’s important to carefully evaluate the elements that don’t work and consider removing them. This will allow for adding new elements that will help create a more cohesive and visually pleasing composition. For instance, adding contrasting colors can help highlight important elements and create a more dynamic composition. Additionally, images or graphics can help break up text and add interest to the design. By experimenting with different elements and refining the composition, you can create a final product that is both functional and aesthetically pleasing.
5.8 Add annotations and notes.
To ensure that others understand your design concept, adding annotations and notes that provide additional context and explanation is important. Using arrows, text, and other visual cues, you can highlight important elements and guide the viewer’s attention to key details. This can create a more immersive and engaging experience for your audience.
To make your annotations and notes as effective as possible, it is important to consider the needs and preferences of your target audience. For example, suppose you are designing a user interface for a mobile app. In that case, make your annotations simple and concise, so they are easy to read on a small screen. On the other hand, if you are designing a poster or other print material, you may have more space to work with and can include more detailed annotations.
Another important consideration when creating annotations and notes is to think about the overall visual hierarchy of your design. You want to ensure that your annotations and notes do not distract from the main elements of your design but rather enhance and support them.
To achieve this, you should experiment with different font sizes, colors, and placement of your annotations until you find the right balance. You can help others better understand and appreciate your design concept by carefully crafting your annotations and notes. This can lead to more successful and impactful designs that resonate with your target audience.
5.9 Share and get feedback
One of the most important steps in the design process is sharing your mood board with clients and collaborators. Doing this lets you receive feedback from others and gain valuable insight into their thoughts and ideas. This feedback can then be used to refine your design concept and make any necessary changes to ensure that your final product meets the needs and expectations of your clients. In addition, sharing your mood board can help build trust and strengthen relationships with your clients and collaborators, as they will appreciate the opportunity to be involved in the design process and have their voices heard. So remember, when working on any design project, be sure to share your mood board and embrace the feedback you receive as a valuable tool for improving your work.
5.10 Use the mood board as a reference throughout the design process.
It is essential to remember the overall feeling or emotion that a design should convey throughout the design process. One helpful tool for achieving this goal is a mood board. A mood board is a visual representation of the desired emotional tone of a design, often created by gathering images, colors, and textures that evoke the desired mood. By using a mood board as a reference, designers can ensure that they stay focused on the intended emotional impact of their work. It is important to refer to the mood board often and make adjustments to ensure the design effectively conveys the desired emotion.
Conclusion
A mood board is an essential tool for UI designers. It helps to establish the visual direction of a project, provides inspiration and ideas, and can be a useful tool for communicating with clients. Mood boards are essential to the design process and help designers and clients communicate and align on a design direction. Whether you prefer physical or digital mood boards, their benefits are clear. By creating a mood board, designers can save time and money, avoid design revisions and miscommunication, and create more effective and impactful designs. Using mood boards, you can ensure that your designs are focused, aligned with your project’s objectives, and evoke the desired mood or feeling.
By defining the project, collecting inspiration, organizing and editing, creating the mood board, and refining and iterating, designers can create a visual reference that accurately represents the project vision. Therefore, if you want to create a mood board for your UI designer you can get in touch with me.
Quality Service For You
We deliver unique and blended experiences to our customers across the globe. From idea to execution and launch, we do ALL.
Table of Contents
Book Your Consultation Now
Related Post
Epic Fantasy App Development Services: Creating Your Digital Worlds